Setting up a Raspberry Pi P2P network can be one of the most rewarding DIY tech projects you'll ever undertake. Imagine creating your own private communication system, file-sharing network, or even a local gaming server—all powered by this tiny yet powerful device. Whether you're a tech enthusiast, a student, or someone looking to explore the world of networking, Raspberry Pi offers endless possibilities. But before you dive in, it's essential to understand the basics, potential challenges, and best practices to ensure a seamless setup. This guide will walk you through everything you need to know to create an efficient and secure peer-to-peer network.
For many, the Raspberry Pi is more than just a single-board computer—it's a gateway to innovation. With its affordability, versatility, and community-driven support, the Raspberry Pi has become a favorite among hobbyists and professionals alike. However, setting up a P2P network with Raspberry Pi requires a bit of technical know-how. From configuring your hardware to securing your connections, there are several steps to follow. This article will break down each step, offering practical tips and troubleshooting advice to help you navigate the process smoothly.
As we delve deeper into the world of Raspberry Pi P2P network setup, remember that success lies in preparation and patience. Whether you're building a network for personal use or as part of a larger project, this guide will equip you with the knowledge and confidence to achieve your goals. So, let's get started and unlock the full potential of your Raspberry Pi!
Read also:How To Master Kohlscomactivate The Ultimate Guide
Table of Contents
- 1. What Is a Raspberry Pi P2P Network Setup?
- 2. Why Should You Set Up a Raspberry Pi P2P Network?
- 3. How Do You Begin a Raspberry Pi P2P Network Setup?
- 4. What Equipment Do You Need for Raspberry Pi P2P Network Setup?
- 5. Configuring Your Raspberry Pi for P2P Networking
- 6. Is Your Raspberry Pi P2P Network Secure?
- 7. Troubleshooting Common Issues in Raspberry Pi P2P Network Setup
- 8. Can You Expand Your Raspberry Pi P2P Network?
What Is a Raspberry Pi P2P Network Setup?
A Raspberry Pi P2P network setup refers to configuring your Raspberry Pi device to enable direct communication between devices without relying on a central server or traditional internet infrastructure. This type of network is particularly useful for scenarios where you want to share files, resources, or applications locally without exposing them to external networks. P2P networks are inherently decentralized, making them ideal for secure and private communication.
When setting up a Raspberry Pi P2P network, you'll typically use protocols like Wi-Fi Direct or Ethernet connections to establish links between devices. This setup allows for efficient resource sharing, reduced latency, and enhanced security compared to traditional client-server models. By leveraging the Raspberry Pi's capabilities, you can create a robust network tailored to your specific needs, whether it's for educational purposes, home automation, or professional applications.
Understanding the fundamentals of P2P networking is crucial before diving into the setup process. Key concepts include node communication, data packet transmission, and network topology. These elements form the backbone of any successful P2P network, ensuring smooth and reliable operation. As you progress through this guide, you'll gain a deeper understanding of how these components interact and how to optimize them for your Raspberry Pi setup.
Why Is P2P Networking Important?
P2P networking has gained popularity due to its ability to provide direct, efficient, and secure communication between devices. Unlike traditional client-server architectures, P2P networks eliminate the need for a central authority, reducing bottlenecks and improving performance. For Raspberry Pi users, this means greater flexibility and control over their network environment. Whether you're building a local file-sharing system or experimenting with IoT devices, P2P networking offers a powerful solution that aligns perfectly with the Raspberry Pi's capabilities.
What Are the Benefits of Using Raspberry Pi for P2P Networking?
Using Raspberry Pi for P2P networking comes with numerous advantages. Firstly, its compact size and low power consumption make it an ideal choice for portable and energy-efficient solutions. Secondly, the Raspberry Pi's open-source nature allows for extensive customization, enabling users to tailor their network configurations to specific requirements. Additionally, the vast community support and readily available resources simplify the setup process, making it accessible even for beginners.
Why Should You Set Up a Raspberry Pi P2P Network?
Setting up a Raspberry Pi P2P network opens up a world of possibilities for both personal and professional projects. Whether you're looking to enhance your home entertainment system, streamline office workflows, or explore cutting-edge technologies, a P2P network can provide the foundation you need. One of the primary reasons to consider this setup is its ability to create a secure and private communication channel, free from external interference or surveillance.
Read also:Overtime Meghan The Inside Story You Need To Know
Another compelling reason is the cost-effectiveness of using Raspberry Pi for networking. Compared to commercial solutions, Raspberry Pi offers a budget-friendly alternative without compromising on functionality. Its versatility allows you to experiment with various applications, from media servers and backup systems to smart home automation and IoT integrations. Furthermore, the hands-on experience gained from setting up and maintaining a P2P network can significantly enhance your technical skills, making you more proficient in networking and system administration.
As technology continues to evolve, the demand for decentralized and secure communication systems is on the rise. By mastering Raspberry Pi P2P network setup, you position yourself at the forefront of this trend, equipped with the knowledge and tools to tackle future challenges in the digital landscape.
What Are the Real-World Applications of Raspberry Pi P2P Networks?
Raspberry Pi P2P networks have a wide range of real-world applications across different industries. In education, they can facilitate collaborative learning environments where students and teachers share resources seamlessly. In healthcare, P2P networks can enable secure data exchange between medical devices, ensuring patient privacy and data integrity. For businesses, these networks offer a cost-effective way to implement intranets, file-sharing platforms, and communication systems. The possibilities are virtually limitless, limited only by your creativity and technical expertise.
How Can Raspberry Pi P2P Networks Improve Home Automation?
Home automation is one area where Raspberry Pi P2P networks shine. By connecting smart devices such as lighting systems, thermostats, and security cameras through a P2P network, you can create a centralized control hub that enhances convenience and energy efficiency. This setup not only simplifies device management but also ensures that your home network remains secure from external threats. With the right configuration, you can automate routines, monitor activity, and receive alerts directly to your devices, all powered by your Raspberry Pi P2P network.
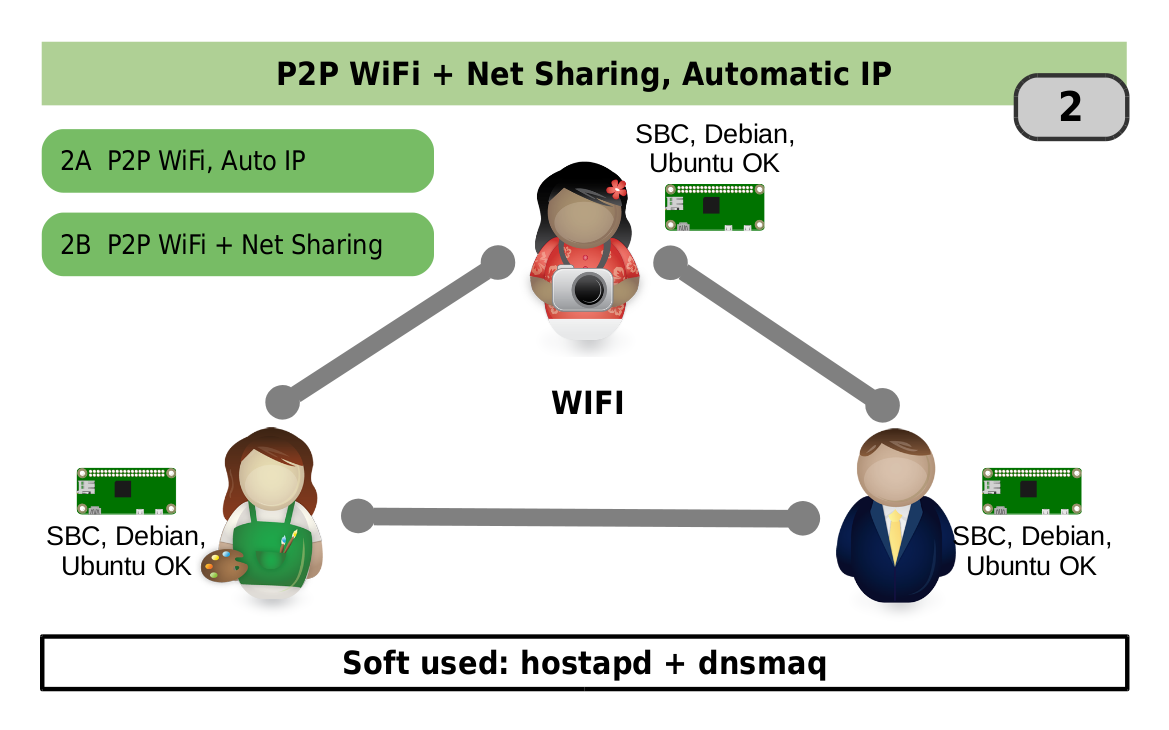
How Do You Begin a Raspberry Pi P2P Network Setup?
Beginning a Raspberry Pi P2P network setup involves several key steps, each building upon the previous one to ensure a successful deployment. The first step is to gather all necessary components, including your Raspberry Pi board, power supply, storage device (SD card), and any additional peripherals you may need. Once you have everything in place, the next step is to install the operating system on your Raspberry Pi. Raspbian, the official OS for Raspberry Pi, is a popular choice due to its ease of use and extensive support.
After setting up the operating system, you'll need to configure your network settings. This includes assigning static IP addresses, enabling Wi-Fi Direct or Ethernet connections, and setting up firewalls to protect your network. It's also important to update your system regularly to ensure compatibility with the latest software versions and security patches. As you proceed, take detailed notes of your configurations to avoid confusion during troubleshooting.
Finally, test your network thoroughly to verify that all devices can communicate effectively. This step may involve sending test packets, checking connection speeds, and ensuring data integrity. By following these steps meticulously, you'll lay a solid foundation for your Raspberry Pi P2P network, setting the stage for more advanced configurations and applications.
What Are the Initial Configuration Steps?
The initial configuration steps for a Raspberry Pi P2P network setup involve configuring basic system settings, enabling networking protocols, and securing your environment. Start by setting up your hostname, timezone, and user accounts to personalize your Raspberry Pi experience. Next, enable SSH (Secure Shell) for remote access and configure Wi-Fi settings if you're using wireless connections. Don't forget to install essential software packages, such as network management tools, that will facilitate your P2P setup process.
How Can You Optimize Your Raspberry Pi for P2P Networking?
Optimizing your Raspberry Pi for P2P networking requires fine-tuning various system parameters to maximize performance and reliability. Begin by adjusting CPU and memory settings to allocate sufficient resources for networking tasks. Consider overclocking your Raspberry Pi if your application demands higher processing power, but be cautious to avoid overheating. Additionally, use lightweight applications and disable unnecessary services to reduce system load and improve efficiency.
What Equipment Do You Need for Raspberry Pi P2P Network Setup?
To successfully set up a Raspberry Pi P2P network, you'll need a few essential pieces of equipment. At a minimum, you'll require a Raspberry Pi board, a microSD card with at least 16GB capacity, a power adapter compatible with your Raspberry Pi model, and Ethernet cables or Wi-Fi dongles for connectivity. Depending on your specific use case, you may also need additional hardware such as USB hubs, external storage devices, or antennas to enhance signal strength.
When selecting your Raspberry Pi model, consider factors such as processing power, RAM, and connectivity options. The Raspberry Pi 4 Model B, for example, offers superior performance and features compared to earlier models, making it an excellent choice for demanding P2P applications. Similarly, investing in high-quality storage and networking components can significantly improve your network's overall performance and reliability.
Lastly, don't overlook the importance of accessories like heatsinks, cooling fans, and protective cases. These items can help maintain optimal operating temperatures, extending the lifespan of your Raspberry Pi and ensuring stable network performance. By carefully selecting and preparing your equipment, you'll be well-prepared to tackle the challenges of Raspberry Pi P2P network setup.
Can You Use Older Raspberry Pi Models for P2P Networking?
Yes, older Raspberry Pi models can still be used for P2P networking, though their capabilities may be somewhat limited compared to newer versions. Models like the Raspberry Pi 3 or even the Raspberry Pi 2 can handle basic P2P tasks effectively, provided you optimize their settings and manage expectations regarding performance. However, for more complex or resource-intensive applications, upgrading to a newer model is recommended to take full advantage of improved hardware specifications and software support.
What Are the Best Accessories for Raspberry Pi P2P Networking?
Several accessories can enhance your Raspberry Pi P2P networking experience. High-speed SD cards and external hard drives provide ample storage for large datasets and media files. Quality Ethernet cables or Wi-Fi adapters ensure reliable connectivity, while cooling solutions like fans and heatsinks prevent overheating during prolonged use. Additionally, USB hubs can expand your connectivity options, allowing you to connect multiple devices simultaneously. Investing in these accessories can significantly boost the efficiency and stability of your Raspberry Pi P2P network.
Configuring Your Raspberry Pi for P2P Networking
Configuring your Raspberry Pi for P2P networking involves several critical steps that ensure seamless communication between devices. Start by installing and configuring necessary software packages, such as Avahi for zero-configuration networking and Samba for file sharing. These tools simplify the process of discovering and connecting to other devices on your network. Next, set up SSH for secure remote access and configure network interfaces to enable direct communication between Raspberry Pi units.
Once the basic configuration is complete, focus on optimizing network settings for improved performance. This may include adjusting MTU (Maximum Transmission Unit) values, enabling Quality of Service (QoS) settings, and fine-tuning firewall rules to allow only essential traffic. Regularly monitor your network's performance using diagnostic tools to identify and resolve potential bottlenecks or security vulnerabilities.
Finally, document your configuration steps and settings for future reference. This documentation will prove invaluable when expanding your network or troubleshooting issues down the line. By following best practices and maintaining meticulous records, you'll ensure a robust and reliable Raspberry Pi P2P network setup.
What Are the Essential Software Packages for P2P Networking?
Several essential software packages are crucial for setting up a Raspberry Pi P2P network. Avahi, also known as mDNSResponder, enables automatic device discovery on your network, eliminating the need for manual IP address configuration. Samba facilitates file and printer sharing between devices, making it easier to exchange resources within your P2P network. Additionally, tools like WireGuard or OpenVPN can enhance network security by providing encrypted connections for sensitive data transmission.
How Can You Automate Configuration Tasks?
Automating configuration tasks can save time and reduce errors during Raspberry Pi P2P network setup. Use shell scripts or configuration management tools like Ansible or Puppet to streamline repetitive tasks such as setting up SSH keys, updating system packages, and configuring network interfaces. These tools allow you to apply consistent configurations across multiple devices, ensuring uniformity and reliability in your network environment. By embracing automation, you can focus more on optimizing and expanding your P2P network rather than getting bogged down by manual configuration processes.
Is Your Raspberry Pi P2P Network Secure?
Security is a critical consideration when setting up a Raspberry